I started this venture with the promise of marketing for the upcoming Valentine season. My goal was to have 5 centerpieces created by February 1st. This would provide enough time for buying customers to have the centerpiece shipped to them. I didn’t quite make my own deadline, but I came close enough to be satisfied and had an amazing journey along the way, even selling 40% of my collection.
An Idea
The 2016 Valentine Collection began as an idea to create traditional round circular floral designs consisting solely of paper roses of varying shapes. I had decorative paper from previous projects, but nothing in red. This began the first of 6 trips to the art supply stores for paper, paper, and more paper. I also already had 2 round paper punches but had to go online to get my third which was a larger round punch.
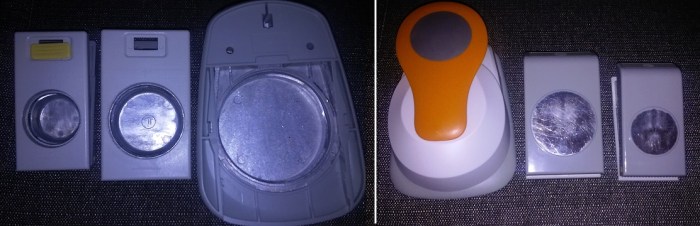
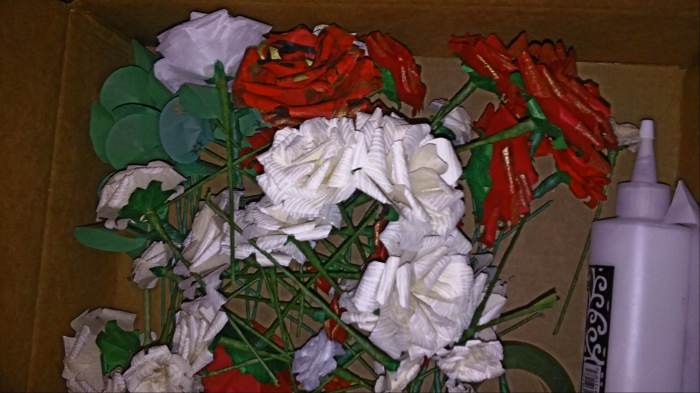
Then I began making paper roses. Lots and lots of paper roses. Aimlessly, hours over hours of paper roses. It was a slow start at first. Initially each paper rose took 30 mins to make. Eventually I was able to cut this down to 6 roses per hour. I also learned that some of the lighter papers either of vellum or tissue papers were challenging to cut via the punches, and were not good at holding their shape when thrown into a bag with other paper roses for storage.
A Plan
As the deadline grew closer I realized I needed a plan and some focus. Specifically I needed to KNOW exactly how many I needed, of which color, which size, and how I was going to construct this into a final, ship-able, displayable piece.
I decided I needed a reliable (predictable) Styrofoam shape if i was going to make a series of these. Going to the craft supply store I found Styrofoam globes of varying sizes. I picked the 4 inch for about $3 each, which could be cut into 2 pieces reducing my per item cost. I also found some simple plastic plant bases that would give the vertical lift I needed for the design, were not expensive, $1 ea, and would not weigh much thereby reducing shipping costs.
My first lesson was that the Styrofoam is nowhere near as soft as floral foam and I needed to use a much thicker gauge wire to sink the flowers into the base.
In a traditional round centerpiece (for live flowers), a base is selected, floral foam is shaped to accommodate, and then taped to the base. Then a few flowers are inserted at the 5 axis to define the shape, then greening commences. This provides the first layer of greens. As the arrangement is created, more flowers are added, large, thick stalk first, then more greens, then more flowers, then more greens, and so on. But this wasn’t working with the paper floral arrangement. The greens were never dense enough to create the depth needed for the arrangement. Earlier attempts resulted in being able to see the stems & the Styrofoam. I realize a different approach needed to be taken that catered specifically for paper.
I needed to create a dense green that could cover the entire Styrofoam. I was successful in coming up with a green design that gave me the underbelly of green depth that I needed. I later learned that I needed to ensure that this greening created the dome shape that I needed else the final result would end up looking very flat and not at all circular.


Once I had this created, I was able to measure how many paper roses I would need. Playing around, I realized i could get away with 12 large roses, 12 medium roses, and 12 small roses. I then decided to break those into half dozen per paper stock. This meant that there would be 6 types of roses per arrangement.
The color combinations I selected were:
- Red Only: red large, red medium, red small
- Red with Ivory: red large, red medium, ivory small
- Red with White: red large, red medium, white small
- Ivory with red: ivory large, ivory medium, red small
- White with red: white large, white medium, red small
A Better Plan
Then it was a matter of doing the math of what I had created vs what I needed. Alas, my aimlessness meant I had too many roses (mostly red) that I couldn’t use if I was going to stick to my decision of only having 6 rose types per arrangement.
With 36 roses per arrangement, and 5 arrangements planned, that was 180 roses I needed, and over 30 hours of just making the roses.I succeed in having the flowers made by the 28th of Jan, which was my flower making due date. Finally it came time to start making the arrangements. Until I relized I forgot to plan for the greening. I needed 90 ‘greens’ per arrangement, which is about a single large sheet of paper and 4 hoours of cutting, pasting, wiring, & taping. And I was out of green paper. And I was out of wire. I lost a day getting supplies.
The next day, I attached the wire for the stems to the roses and completed my first arrangement: Red only. The day after I made the greens for the next one, and created the arrangement for Red with Ivory. Then Red with White the following day. Then Ivory with Red the next following day.
A Finished Product
I was not completing then exactly as I had planned, which was to have them all done & on Etsy by Feb 1st, but good enough. I stalled though when it came to the White with Red. I just didnt like the colors together in sunlight (it had been raining for the past 2 weeks and they had looked fine in the gloom & doom).
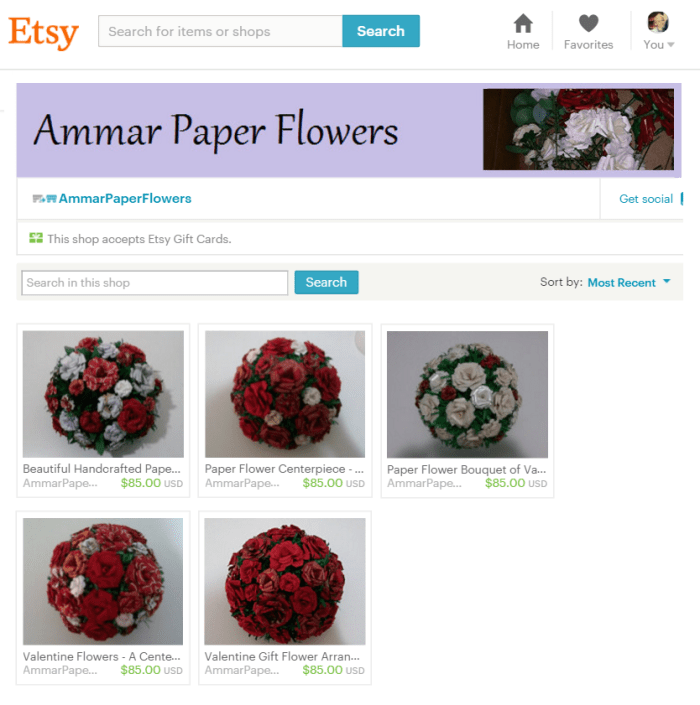
And now they were up on my wonderful new Etsy store, awaiting customers. Ha! I was just one entry in a billion of other entries. But I reached out to my friends on Facebook, who really supported me, and ‘Liked’ my Etsy products. In fact 2 of my friends became my first customers. Which is why I created my 5th arrangement, a custom request of Red & White 50% blend.
So I sold 2 of my 5 arrangements, sold 40% of my inventory, and learned alot along the way. I am still determined to master Etsy, but will see what the year offers as I push my little hobby & creative outlet into more social channels.
http://etsy.com/shop/AmmarPaperFlowers