I Loved! Loved! Loved! making this wreath! This was my first wreath of paper flowers, and honestly, it came out MUCH MUCH better than my wreath of natural flowers from my Flower Arrangements class at CCSF.
A Wreath
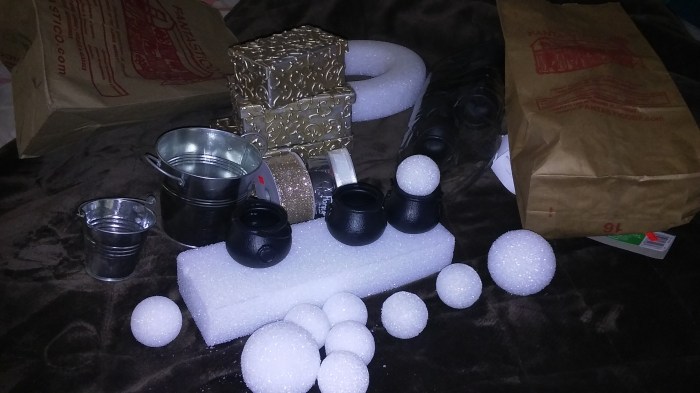
The wreath idea started because I happened to have a wreath form on-hand and because ‘St Patricks Day Wreath’ was the third search suggestion on both Etsy & Pinterest when you started a search for ‘St Patricks Day’. So a wreath it is!
One of the neat things about paper is that you can overcome obstacles that occur in nature. Such as the fact that the stem of shamrocks are far to fragile used in a form. And though you could wire wrap them for support, they never seem to be used often. Probably the leaves decay quickly after being cut. Since I have none of those issues, shamrocks were definitely going to be the predominant element to this piece.
A Wreath with Ribbon & a Focal Point
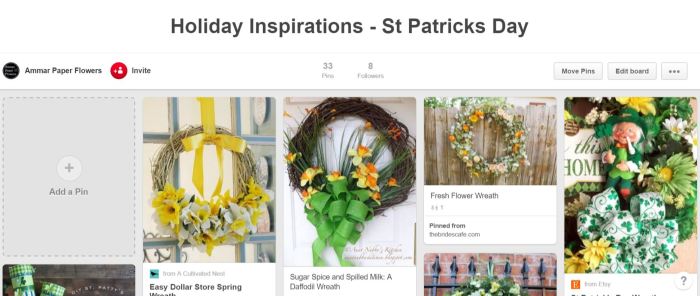
I like to use Pinterest for my inspirations. Looking at my collection of pinned wreaths I noticed a few trends. Either the flowers were equally spread across the wreath or were clustered into a focal point. Ribbons had a surprising proclivity of usage, but ranged vastly on how they were used. And there was a sprinkling holiday trinkets added for flare.
Given that I had failed so horribly with my attempt at a balanced wreath in my Flower Arrangement class, I realized I was safest if I limited my design to have a strong focal point. I also knew that I wanted to stay away from holiday trinkets since I have used Leprechaun pots of gold in my last piece. And I knew that I wanted to use ribbons; particularly to handle edges more elegantly.
Greening the Wreath
I made a big departure this time around with how I ‘greened’ the this arrangement than how I’ve greened paper arrangements thus far. When using a wreath floral form in traditional floral arrangements, leaves are pinned down to cover the form, thus ‘greening’ the form. This is what I decided to do as well. I used a mixture of gluing as well as creating wire ‘hairpins’ to hold down the leaves, which were shamrock shaped. This was the first exercise where the thinner, fibrous papers came in handy. I also decided to use really dark and dull colors of green for the greening.
Ribbons & Shamrocks & Flowers, Oh My!
Once the greening was done, I started playing around with how I was going to balance the ribbons & flowers. I first decided to use daffodils as the main flower. They represented spring extremely well and handled subtle color variations (white & yellow only) nicely.
At one point I thought I would use the ribbon to section off the wreaths so that it became 4 parts shamrock to 1 part daffodils. When I tried this, though, the daffodils couldn’t cover the form well enough unless you clustered them densely. Yet if you did that, the daffodils were hard to appreciate individually, being lost in the cluster. I decided instead to cover the entire wreath in a layer of shamrocks, and place the daffodils above the shamrock, he daffodils mildly separated from each other for better individuality
I added the bottom green ribbon around the outside and inside of the wreath to create a beautiful edge, since the shamrock could not easily cover the edges 100%. The green ribbon, which was a beautiful metallic green, would also serve nicely as a bow. Instead of adding a bow to the wreath, which I tried, but could never find a placement I like, I decided to use them to solve another problem I would eventually run into , which was to create a hanging loop for handing the wreath.
Finishing Touches
Now that I had the design in mind it was just a matter of execution. I added the rest of the shamrocks around the wreath. I had chosen brighter greens for these shamrocks vs the darker greening shamrock leaves. Each of the five sections had about 15 shamrocks placed within. There is a slight space where the sectional white ribbons loop around the wreath, but it ended up not being as noticeable as I had hoped
And then it came time for the daffodils. I had more yellow papers now, so I was able to create more varietals of color combos. Balancing the daffodils became a bit more of an effort. I decided for 1 large daffodil, a few medium daffodils, and then small daffodils to balance out the effect.
A Wreath, A Candle Centerpiece, For St Patrick’s Day, For Spring
Upon completion, I absolutely fell in love with the piece. It was versatile and did not stand out as dated once St Patrick’s Day had passed. I had not realized initially upon hanging it, that I didn’t like the flowers balanced at the bottom. Offset to the leftlooked much better . A few flowers were relocated making it flow better when hung, and voila!
My Shamrock Spring Wreath was created!


